Wednesday, December 31, 2014

How to make monthly Calendar

A handmade calendar with different techniques and materials used for each month.I always wanted everything around me to be my creations.I think all crafters would agree. "Variety" and "colourful" are two words that runs in my mind when i do crafts. With that in mind ,I started making this calender.We will see a detail description for each month.Grab a Cup of coffee because this is a quite long post :)Stay relaxed and go through the post :)

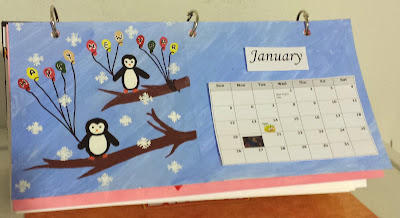
January --> Painting
I used a normal painting method using acrylic colours for this month.With an image of penguins holding a Happy New year balloons. I can catch your mind voice.Balloons ,Balloons ,Balloons everywhere!!!Yesss ,Balloons are my favorite and more over I think when they fly colorfully, it brings a kind of happiness . Do you Agree ? :)  


.
February --> Embroidery
This month reminds me of Valentine's day.So, I created Hearts made of Cross stitches.

Work in progress


March --> Quilling
The month where the Spring season starts ,flowers blossom and the butterflies waiting to suck the honey.Quilling is a art where the stripes of paper are rolled ,shaped and glued together to form an art.This is my second quilling work.Though it was a bit challenging ,I some how made it.In this place, I would like to appreciate my fellow quillers for their great wonderful designs:) :)

April --> Collage & paper cutting
April month is my anniversary month.So, made it a little traditional. Like every religion has their own way of traditions in Wedding.In Hindu tradition, the groom will tie a sacred chain with a pendant (as shown below) around the bride's neck.With that theme in the mind I created a collage of our wedding pics and have put it in the shape of the Mangala Sutra (sacred chain).


May --> Spray painting
By this time , all flowers would have come up with bright colours. So, I decided to use flowers for this month.Used some stencils and sprayed acrylic colours using tooth brush.

Spray painting with stencils

June -->Stippling
Have you heard of this technique? If yes , that's great !!If no, let me tell you.I found there is art called stippling while looking for something else around the internet.It is an art created using small dots or short strokes.I created a basket of summer fruits as June is a start of summer month.

This is how I started dotting :)


July --> Glitter & Glue
July reminds me of fireworks for 4th of July .So I used glitters and glue to create fireworks.


August ---> Polymer Clay
Polymer clay is my favourite medium to work.As summer reminds me of colourful and delicious ice cream flavours.I decided to make some ice creams with polymer clay.

Ice cream was formed like that and made into this :)


September --> Thread painting
 During childhood days I used to play with threads & paints by dipping the thread in paint and placing it between 2 sheets of paper randomly and pulling the thread out.It creates a abstract design.When I was thinking of how to create the shades of different colours to create fall leaves, this technique striked my mind.By using the sheet of painting, I cut out small leaves and created a fall tree to represent the start of FALL.


Thread painting steps


October --> Pencil & Eraser
Boooo!!! It is a month where everyone will start thinking of what costume to wear this year for Halloween Party.With that theme in the mind , I shaded the whole sheet with pencil and created some picture depicting the Halloween season by erasing it.


November --> Felt
It is a month where everyone will be waiting for the deals day and It is the Thanksgiving day.Another special thing about thanksgiving is Turkey.So I decided to make a felt turkey.


December --> Beads
December reminds about Christmas, holidays & snow. And all together it is a month full of fun :) Hurray!!!I decided to go with Christmas theme.With Christmas tree colored with markers ,I added the beads at the ends to make it bling!!!


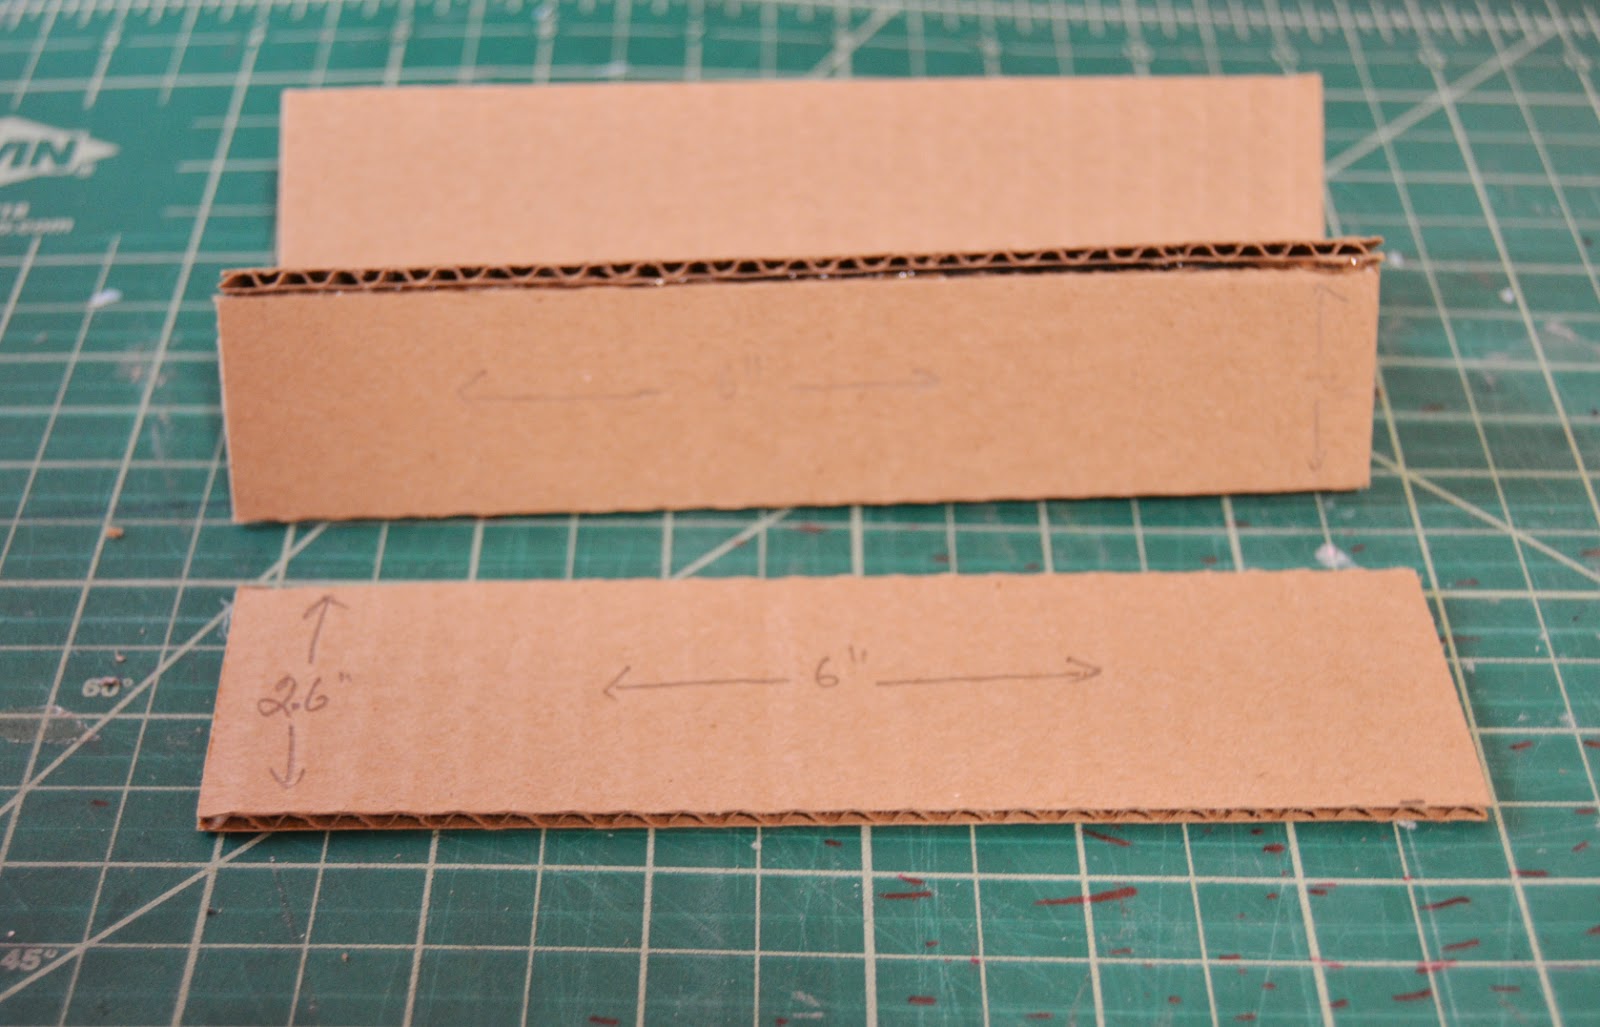
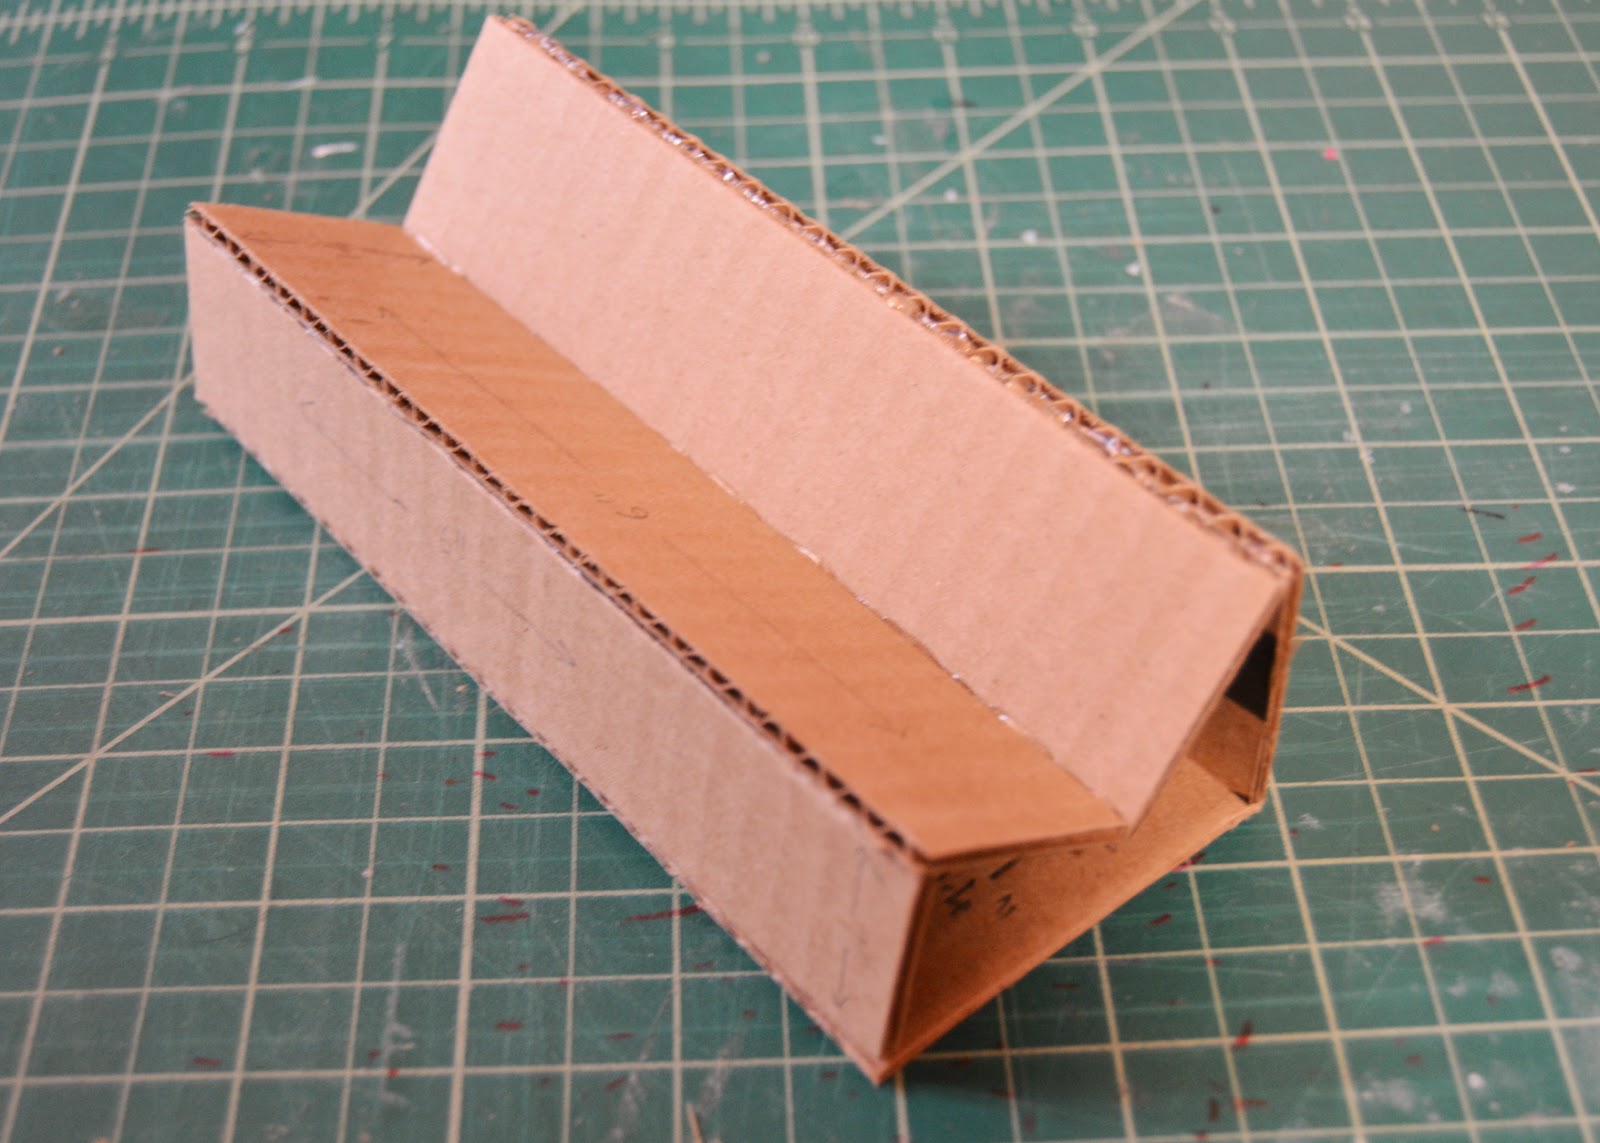
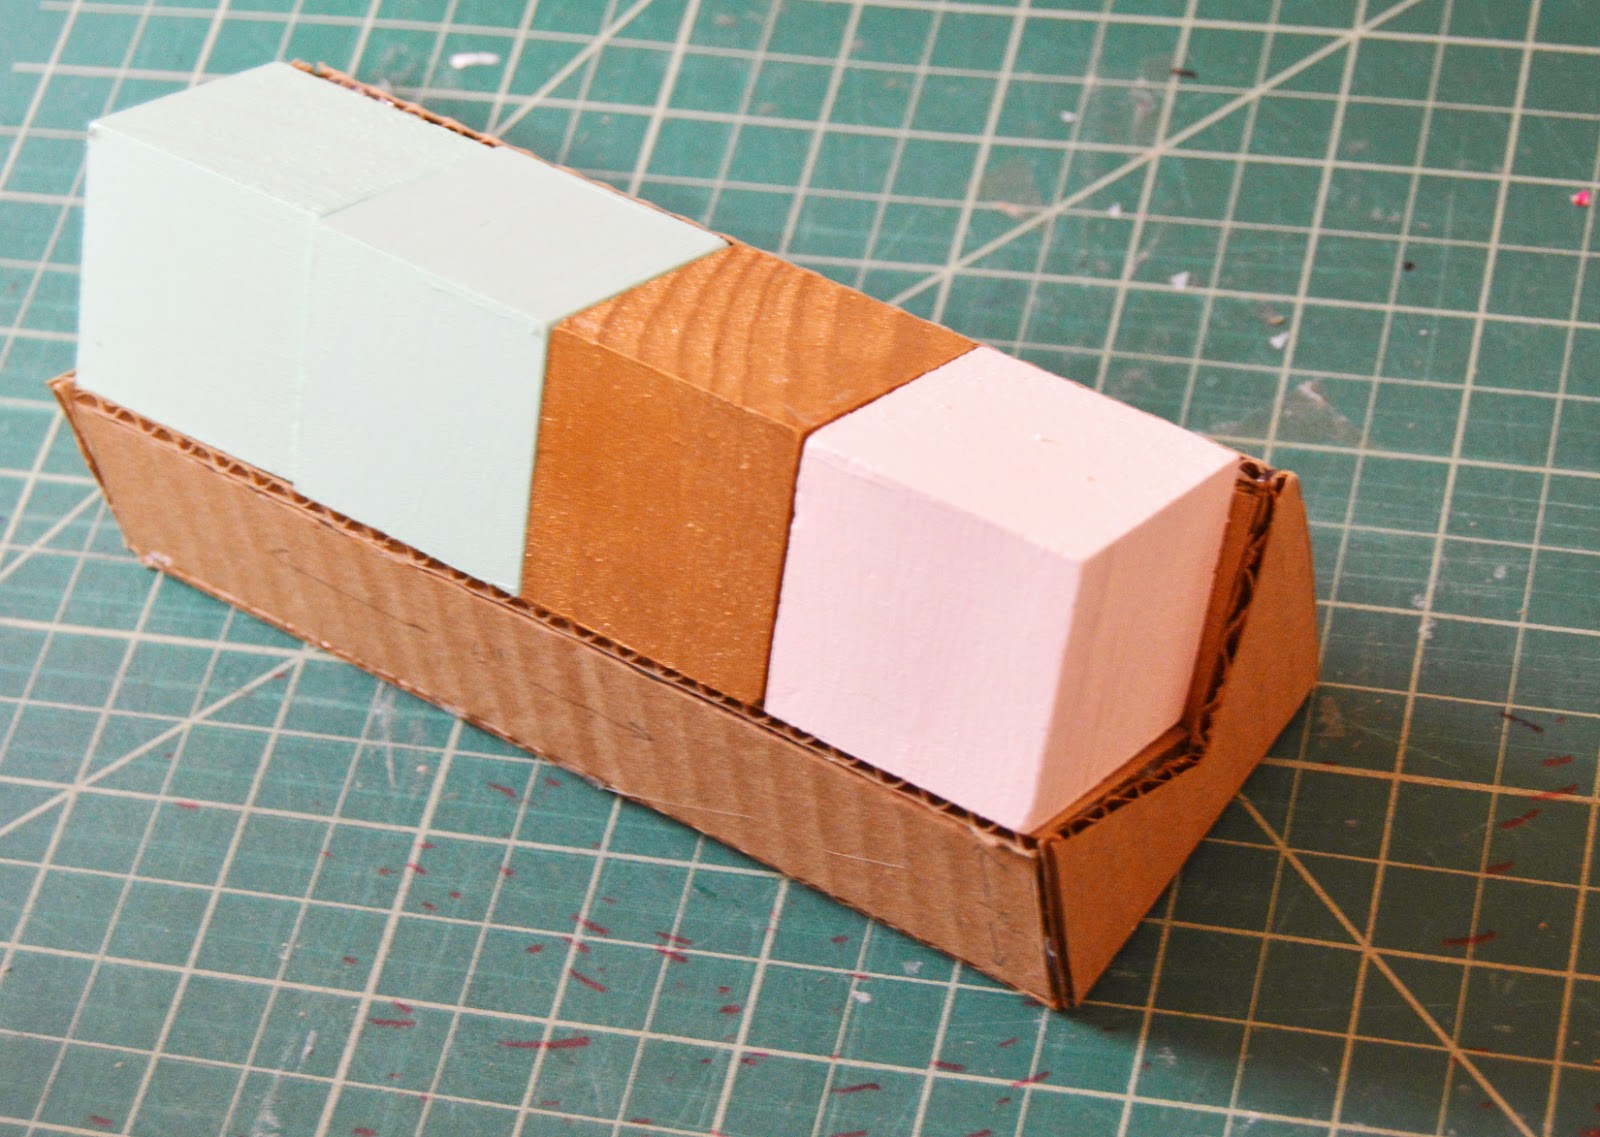
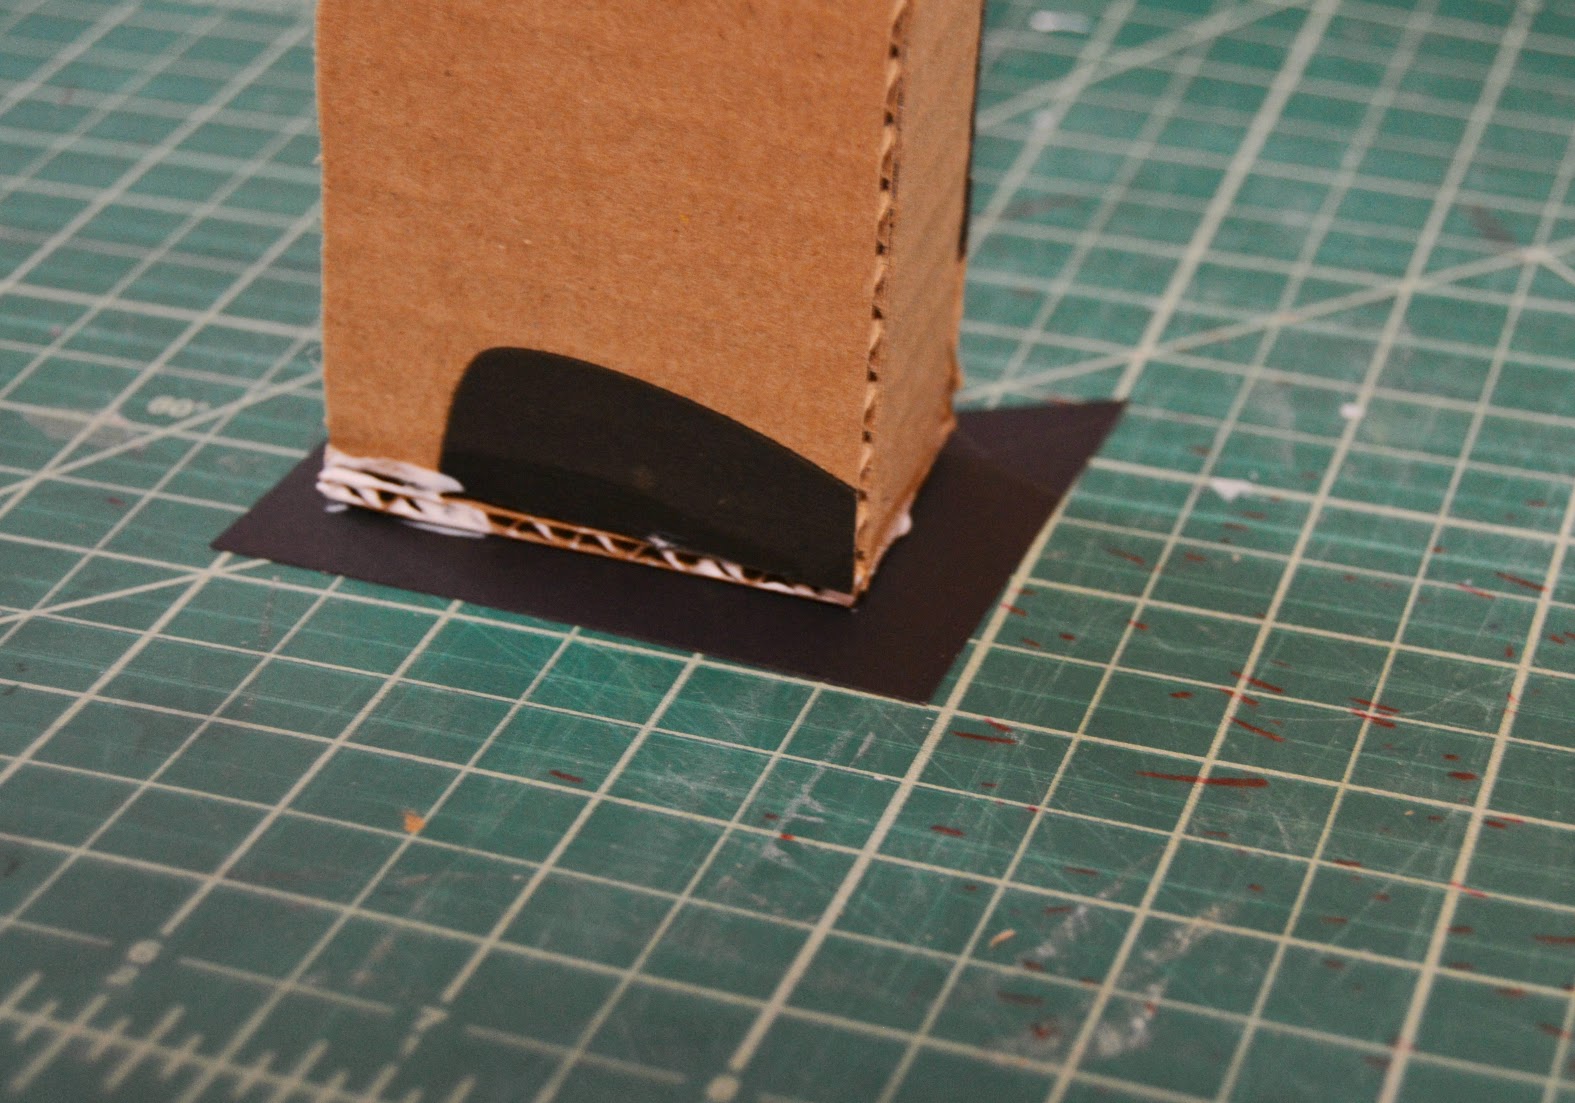
Here is an easy way to make your own calender.Get your card stock, pattern/scrapbook papers and take print outs of the calender from internet.(There are variety of templates available).You can also add some pictures to the dates of your loved ones birthdays,anniversary ,etc as I have done in my calender.Now with everything ready, cut the the scrapbook/pattern paper to the desired size and stick the print out.Do the same for all the months.Take a cardboard(you can reuse cereal boxes) fold it in a triangle shape.Punch holes in the cardboard as well as your card stocks.Connect it with hinged rings.Now, you have your own calender with your favorite colors and patterns.
Form the cardboard like this to put your calender sheets together.


DIY cubes calendar inspired by MoMA

When I went to MoMA (Museum of Modern Art) during last summer , I loved the shop there compared to the museum because they had a lot of creative products and I was going through each one of them and I felt like having all of them.(Obviously, that is not possible :P)Then my DIY mind said that I can do some of them . One of them were this perpetual cubes calendar.As the new year starts tomorrow, we can make a new calendar to start the year. Of course, it can be any day any year to start this as it is a never ending calendar.Just to make it a seasonal thing, I am posting it right on time.;)


Materials required :
4 wooden blocks (Mine measured 1.4")
Cardboard (Shipping boxes will do)
Paint
Paint brushes
Utility knife
Glue gun
Paint pen
Black card stock
Mod podge.
Scissors
Clear gloss spray paint or any sealant.

Step 1: Decide the color scheme of the cubes. My current faves are teal ,gold ,black and white but you can chose your own favorite color scheme or go with mine. Paint the cubes in the colors you picked. I went with teal for date cubes, white for days cube and gold for months.Two to three coating will be perfect to mask the wood from showing through.


Step 2: Now to the making of stand for cubes.I made this stand by trail and error method.With cubes measurement as key I started building the stand. You can pretty much make this stand for whatever size of cube you have. My cubes measured 1.4".So, if you also have the same cube measurement, then You will need

2 card boards(Middle)  --  6" x 1.4"
1 card board (Front)     --  6" x 1"
1 card board (Back)     --  6" x 2.6"
1 card board (Base)      --  6" x 2.4"

Here are the steps to make the base:

Attach the middle two pieces with hot glue.

Attach the front piece to previously build "V" shape piece

In the same way , attach the back piece also.

Now, you have something like this (A slant "M")


Cut the base piece.

Attach it to the base of the slant "M" piece.


Step 3: Once you are done building the base , trace the sides on to the cardboard and cut them. Glue them to the sides using glue gun. Your cardboard base is now ready.

Trace the sides on to the piece of cardboard and cut it.

Close the sides using hot glue.

Your base is now ready.
Step 4: Cover your stand with black card stock and mod podge. Use the base that you have just build as a template and trace around black cardstock leaving 1/2 inch extra on all sides .Cut it and use mod podge to glue it to the cardboard. Once the glue is dry , use another coat of mod podge above the card stock to give a polished look. Your base is now ready. If you feel that is too much of work,cover it with paint.


Step 5: Once the wood blocks are dry. Write the date, day and months with pencil and then go over them with the paint pen for the final touch. If you are confident enough you can write directly with paint pen.Finish it with a coat of sealant like triple gloss paint or clear gloss spray paint.And then, you are done!
Cube 1 (Day) - Mon, Tue, Wed, Thu, Fri. Sat/Sun
Cube 2(Date) - 1,2,3,4,5,6
Cube 3(Date) - 0,1,2,7,8,9
Cube 4(Months) - Jan/Jul , Feb/Aug ,Mar/Sep , Apr/Oct , May/Nov , Jun/Dec


What do you think about this cubes calendar? Isn't it so easy to make? You can also replace the cardboard base with anything else you already have.Or you can just make the cubes and place it together on a stack of books. The ideas are endless and so the calendar :) Do it once and have it life long. This makes a beautiful gift for anyone celebrating birthday in January. Feel free to share your comments below or write to vikalpah@gmail.com . As always I will be happy to hear from you. 
If you want to check my last year calendar,click here.


Monday, December 29, 2014

Bloggers Brag Pinterest Party [Co-hosting week -8]

Welcome to the Bloggers Brags!

Bloggers Brags logo


Thank you so much for linking up and sharing your "brags" with us. We took a off last week and we are back again ! Hope you had a great holidays! Now let us start the party !!!!

Here are this week's 

Featured Posts from the Bloggers Brags Pinterest Party
These 2 posts each received 7 clicks!
featured posts from week 58

My Picks of the Week!

Pallet Wood Christmas Card Tree - making it in the mountains

Rustic Christmas Card Tree from Making it in the mountains


* * * * * * * * * * * * * * * * * * * * * * * * Rules of the Bloggers Brags Weekly Pinterest Party  
LET'S GET OUR PARTY ON!
  • Be a follower of your hosts on at least one of their social media:
Pinterest Party Hosts Are...hosts of Bloggers Brags{Misty from  Denverista @ Facebook or Twitter or Pinterest or Google+}      
{Tammy from Creative K Kids @ Facebook or Twitter or Pinterest or Google+}

This week is our co-hosts last week with us!  They have pinned and commented on 35 posts each week!  That's a lot of work!  Please thank them and follow them at least on one social media or by subscribing to their blogs!

cohosts for Bloggers Brags Pinterest Party
{Sahana from VikalpahFacebook or Twitter or Pinterest or Google+ or Instagram}
  • Pin our Pinterest party button or a visible link onto your sidebar, post, or party page. This will help others to find our party and will bring more visibility to your links! 
Creative K Kids
  • Please make sure that you link directly to your post’s URL and not to your blog’s URL.
  • Pin the two links before yours! If EVERYONE pins, then everyone will get more Pinterest love. 
  • Link up a maximum of 3 links. They can be old or new–they’re all new to us, and we want to see them!  Please link up posts only one time to the Bloggers Brags Pinterest Party.
  • All posts must be family-friendly.  If you link up an post that contains alcohol, it may not get pinned if it goes against the hosts/co-host's beliefs.
  • OPTIONAL: Follow our Bloggers Brags Board on Pinterest. You don’t have to do this; but of course, you’ll want to! We will be pinning all of these links to that board which will also gain more exposure for you! You can find the Bloggers Brags board here. 
      Here are just a few more details!  
  • If your post is featured, you can grab this button!
Creative K Kids
  • Disclosure: By linking up and including a picture, you agree to Creative K Kids and Denverista and any co-hosts to use your pictures and links in any future posts on any of their personal blogs. Your photo may also be used for promotion on all social media outlets of Creative K Kids and Denverista as well as any future co-hosts.  We also may link your printables and other resources up to our permanent linkys to gain you more exposure. 
  • If you include your e-mail in the linky form below you will be added to a weekly reminder e-mail when the link party goes live. Your e-mail will not to added to any other lists or given out.  
  • Please do not add any shops, reviews, giveaways or link-up parties.  Links that do not comply may be removed and will not be pinned or commented on.